
Eliminate Outdoor Blind Spots with Four Smart Steps
We’ll walk through four smart steps to place outdoor security cameras, eliminate blind spots, increase coverage, and strengthen deterrence—surveying our property, selecting camera types and lenses, positioning for ideal height and overlap, and securing wiring with ongoing tests and maintenance.
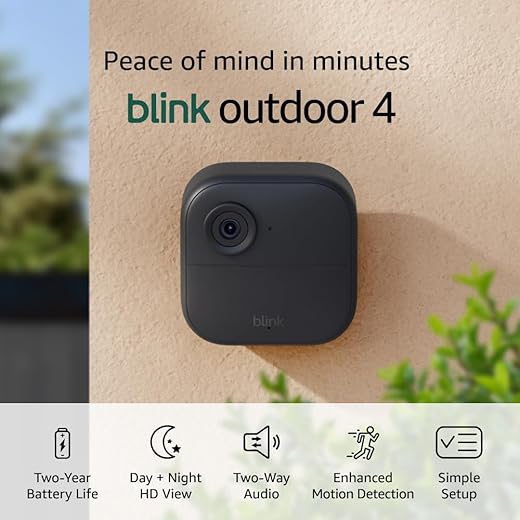
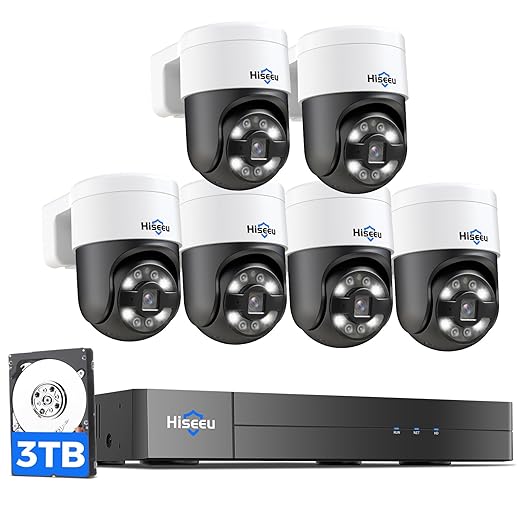
If you’re still choosing hardware, our Smart Security Cameras picks show wired, wireless, and solar kits that work with these same steps.
What We Need
We need:

Survey Your Property and Create a Coverage Map
Where are the gaps? We’ll find them before buying a single camera.Walk the perimeter at different times—day and night—to note lighting, sightlines, and high-value areas like entrances, garages, and windows. Use a flashlight or phone beam to simulate camera coverage and spot glare or reflective problems.
Sketch a simple map and mark the following:
Measure distances from likely camera mounting points to target zones to estimate required camera range and field of view. Check for obstructions such as hedges, porch roofs, overhangs, or decorative glass that could create blind spots or glare. Consider privacy lines where neighbor windows or sidewalks might be visible and plan mounting angles to avoid intrusive views.
After mapping, we prioritize zones by risk and visibility, deciding where overlapping fields would be beneficial to eliminate blind spots while minimizing redundant cameras. This planning saves money, prevents surprises during installation, and ensures we place cameras where they actually protect our property and improve evidence collection and reliability. Indoors, we use a similar mapping approach in How We Use a Pan-Tilt-Zoom Indoor Camera to Monitor Our Baby.
Choose Camera Types and Lenses Wisely
Do we go wide-angle, zoom, or PTZ? One choice can fix multiple blind spots.Match camera types to each prioritized zone. Select wide-angle fixed lenses for yards and driveways to cover broad areas with fewer devices. Choose varifocal or PTZ cameras where we must zoom to read faces or license plates—e.g., a varifocal aimed down a 60 ft driveway so we can tighten the view when a car arrives.
Pick tamper-resistant turrets or domes for porches and entryways, and use conspicuous bullet cameras along fences as visible deterrents. Verify lens specs and horizontal field of view to calculate how many cameras one unit can replace and ensure overlap.
Balance cost and capability: aim for the fewest cameras that still provide overlapping fields with clear identification at expected distances. Then document decisions and label each camera. For ready-made outdoor bundles that match these basics, see Why We Picked 5 Best Amazon Outdoor Cameras.
Position Cameras for Height, Angle, and Overlap
Small changes in height or tilt remove most blind spots — who knew?Mount cameras eight to ten feet high to balance field of view and tamper resistance; remember that higher placements need better optics if we expect facial ID.
Angle cameras slightly downward to reduce sky glare and capture approaching subjects. Avoid pointing at direct sun or reflective windows that wash out details.
Ensure at least 20–30% overlap between adjacent cameras so no path becomes a blind corridor. For doorways and driveway entries, use two overlapping frames—one wide for detection and one tighter varifocal for identification.
Use corner-mount adapters or wide-angle lenses to cover two sides without dead zones, and plan cable routes so wiring is concealed or protected (conduit or tamper-proof clips) to prevent cuts.
Test with walkthroughs; we then tweak tilt and zoom, and lock settings once coverage is confirmed.

Secure Wiring, Test Coverage, and Maintain Regularly
One neglected cable or dirty lens undoes months of careful placement — let’s prevent that.Secure power and data runs: for PoE run Ethernet in conduit or use tamper clips; for solar or hard‑wired systems conceal cables in soffits or sealed raceways and weatherproof mounts and junction boxes. If Wi-Fi dead zones are causing drops, our Best Mesh Wi-Fi Systems for Smart Homes guide helps you fix coverage before relying on wireless cameras.
Test coverage by walking every path day and night; confirm motion triggers, verify identification quality at typical distances, and ensure footage records to our NVR or cloud. Walk the driveway at normal walking speed and again at night with porch lights off to see realistic results.
Log angles, label each cable at both ends, and photograph every camera and its view for future reference.
Schedule quarterly maintenance: clean lenses, update firmware, inspect mounts and seals after storms, and rotate storage to avoid retention gaps.
Tweak angles or add a small supplemental camera if blind spots remain rather than over‑zooming. Enable push alerts, test remote live view from our phones, set sensible retention limits, and keep a dated maintenance log.

Test, Adjust, and Keep Your System Healthy
We’ll test coverage, adjust angles, document wiring, and perform routine maintenance to minimize blind spots, improve deterrence, and simplify upkeep. Start with one camera placement test, scale up after reliable results, then share your setup and lessons so others benefit.
Related Smart Home Security Guides
Want more ideas for covering every angle?

Can anyone explain the best way to test coverage without climbing on a ladder every time? I want to avoid a bunch of back-and-forth adjustments.
Use a temporary mount at different ground locations, then view the live feed on your phone to check angles. A friend holding a broomstick or tall object while you pan around helps replicate person-sized targets. Mapping your coverage on paper first also reduces trips up the ladder.
I use a pole-mounted clamp that holds the camera at different heights; super handy. Amazon has cheap ones. Saves me at least 3 ladder climbs per install.
Anyone here tried mixing fisheye and PTZ cameras? I’m thinking fisheye for wide coverage and a PTZ for tracking. Seems like overkill but curious about pros/cons.
Agree on NVR support. Also, set rules so PTZ doesn’t constantly ping back to a wide angle — it looks odd on recordings.
Overkill? Maybe. Effective? Definitely. Worth the extra $$ if you need active monitoring.
That’s a solid combo. Fisheye gives a broad overview and PTZ covers high-value zones for detail. Just watch your latency and ensure the PTZ can be automated or easily controlled from your recorder/app.
I did that and loved it. The only downside: more complexity in integration. Make sure your NVR supports dewarping fisheye streams if you want single-pane viewing.
Love the step about overlapping fields. I used to wing it and had so many black spots. Also, small rant: installers who put camera lenses too high are the worst. You can barely see anything but sky. 🤦♂️
Hahaha yes! I’ve seen ‘skycam’ installs too. Always ask to test live feed before they bolt everything down.
Ask them to record a short walkthrough of key angles and a few minutes of footage. It’s an easy acceptance test before signing off on the job.
The coverage map idea is gold. Did mine on graph paper and then snapped photos to check real-world. Also, note where your hedges grow — they can create new blind spots months later.
Exactly — landscaping changes are a common cause of new blind spots. Schedule a quarterly check of camera views as part of your maintenance routine.
Plant growth is the silent enemy. I trim every spring and again midsummer. Cameras thank me.
Not tech-savvy here — does PoE mean I can avoid separate power lines? Sounds neat but I’m worried about cable length limits and reliability.
Yes, PoE (Power over Ethernet) supplies power and data over one cable and avoids separate power runs. Standard PoE works up to ~100 meters (328 ft). For longer runs, use PoE extenders or local power with a weatherproof outlet. Also ensure your switch or injector supports the camera’s power requirements.
If you go PoE, invest in a UPS for the switch/NVR. Keeps cameras alive during short outages.
I mix PoE and local power based on distance. PoE is cleaner but watch the wattage — PTZs need more juice.
Is it worth hiding cameras? Like, aesthetics vs deterrence — I kind of want them visible but not ugly. Any middle ground?
Cam integrated into porch light = best compromise. Looks natural and most people spot it if they’re up to no good.
If you’re in an HOA area, check rules — some have restrictions on visible security fixtures.
I painted my camera housings to match the trim. Subtle but still noticeable on close inspection.
Visible cameras act as deterrents while discreet ones capture better evidence sometimes. Middle ground: use tasteful housings or integrate cameras into lights or architectural features so they’re not eyesores but still visible enough to deter casual wrongdoing.
Maintenance schedule suggestion: check feeds monthly, clear lenses after storms, check mounts quarterly, and test motion detection yearly. Also, keep firmware up to date — but NOT the night before a big event 😂
Agree on testing after updates. I once lost motion zones after an update and had to reconfigure everything — lesson learned.
Putting reminders in my phone now. Thanks for the checklist!
Solid schedule. Firmware updates can sometimes change settings, so it’s smart to test afterward. Consider staging updates on one camera first if you manage many devices.
Nice breakdown! I appreciate the wiring and maintenance section — so many guides skip the boring but crucial stuff.
Long story short: I had to replace a camera last month because critters chewed through exposed cabling. Now I run everything in conduit and it’s been peaceful.
LOL at ‘future-you will thank past-you’ — so true. 😂
Same here. Rats + cheap cable = tragic. Conduit or metal cable trays saved me. Also zip ties are your friend for neatness 🪛
For anyone in cold climates: use low-temp rated conduit or it becomes brittle. Learned that one the hard way.
I use armored cable (BX) on the exterior and it’s been bombproof. More expensive but worth it over time.
Glad the maintenance part resonated. Conduit is especially important in areas with wildlife or heavy storms. Also label your cables — future-you will thank past-you.
Okay newbie question — do weatherproof ratings like IP65 vs IP66 really matter for outdoor cams? I live in a rainy area and don’t want to regret a cheap buy.
They matter. IP66 offers better protection against strong jets of water compared to IP65. For heavy rain and storms, lean toward IP66 or higher. Also check operating temperature ranges for cold or hot climates.
For the price difference, I usually go IP66. Peace of mind > savings imo.
I had an IP65 survive 2 winters but it depends on build quality too. IP rating is a baseline, not the whole story.
If it’s near the coast, consider corrosion-resistant housings too. Salt air is ruthless.
Super helpful guide — finally someone explained overlap properly. I had two cameras pointing at the same gate and a giant blind spot by the driveway because of the angle. Tried repositioning to create that 20-30% overlap you mentioned and it actually works.
Question: for a two-story house, do you usually put the camera on the eaves or on a pole? I worry about glare from porch lights at night.
If glare is bad, a little sunshade hood can help a lot. I 3D-printed one for mine — cheap fix.
I put one on the eaves and one on a short pole. Eaves are easier to hide wiring. Pro tip: paint the pole the same color as your fence so it doesn’t scream “camera” 😅
Great to hear it helped, Maya! For a two-story house, eaves are usually fine if they give good coverage and are sheltered. Poles are an option when you need different sightlines. For glare, try angling the camera slightly downward and away from direct light sources, or use IR-cut filters if your camera supports them.
Quick practical question: what’s the sweet spot for mounting height to avoid tampering but still get good facial detail? I’ve read conflicting things.
A common balance is 9-10 feet for typical residential setups — high enough to deter casual tampering, low enough to capture faces at reasonable resolution if angled correctly. If facial ID is critical, pair with a lower-mounted doorbell camera or a secondary low-angle camera for entrances.
9-10 ft is my go-to. If you go higher, you lose vertical detail unless you use a telephoto lens. Also consider lighting at that height.
I put a camera at ~8ft and one at 12ft for the yard — that combo caught a porch pirate on my review footage. 😎
Pro tip: put a fake camera at eye level to deter, and the real one higher up. Ethical? debatable. Effective? yes.