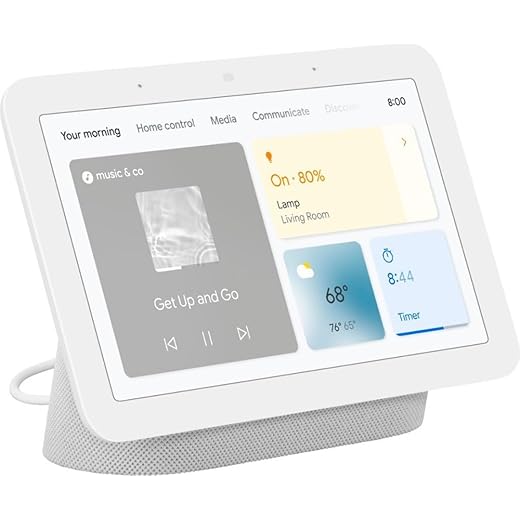
How to Connect Our Google Nest Hub to Smart Home Devices Fast
We’ll walk through a focused, step-by-step plan to get our Nest Hub controlling lights, plugs, cameras, and thermostats quickly. This guide prioritizes speed and reliability so we can use voice commands and automations without the usual headaches or setup delays.
If you’re starting from scratch, our Smart Home Setup Guide for Beginners shows how the Nest Hub fits into a full-home plan.
What We Need Before We Start

Step 1 — Prepare Our Network and Nest Hub
Don’t blame the Hub — 80% of connection problems start with Wi‑Fi. Are we sure our network is ready?Confirm our Wi‑Fi is stable and has a strong signal where the Nest Hub sits. Check router placement (avoid closets or behind TVs) and move the router or Hub a few feet if the signal is weak.
Choose whether to unify SSIDs or separate bands: use the 2.4 GHz SSID for older smart bulbs and plugs, or keep a single SSID for simplicity if all devices support 5 GHz. Ensure our phone is connected to the exact same SSID we’ll use for device setup.
Open the Google Home app and sign into our Google account. Verify the Nest Hub shows online and update its firmware in the device settings if prompted.
Temporarily disable guest networks or AP/client isolation on the router if devices don’t discover; re-enable them afterward. If a smart plug won’t appear, try switching our phone from a guest network to the main SSID and retry. If Wi-Fi is weak near the Hub, consider upgrading using our picks in Best Wi-Fi 6 Routers for Multiple Smart Devices.
Do these quick network fixes now to avoid setup delays later.
Step 2 — Add Devices in the Google Home App
Why add devices in the app first? Because one tidy app saves us from juggling five different controls — and it’s faster than you think.Open the Google Home app on our phone.
Tap + in the top corner.
Choose Set up device.
Select New device to let the app discover compatible gadgets, or pick Works with Google to link brand integrations.
Follow the app prompts for each device: put the device in pairing mode, accept permissions, and assign it to a room.
Name devices with clear, descriptive labels (for example, use Kitchen Main Light or Living Room Thermostat, not “light1”) so voice commands stay simple and reliable.
Grant location and local network permissions when requested to enable discovery.
Restart devices if they don’t appear.
Put devices back into pairing mode and consult the manufacturer’s quick-start guide if discovery fails.
Test each device immediately by tapping its control card or saying a voice command like, “Hey Google, turn on Kitchen Main Light.”
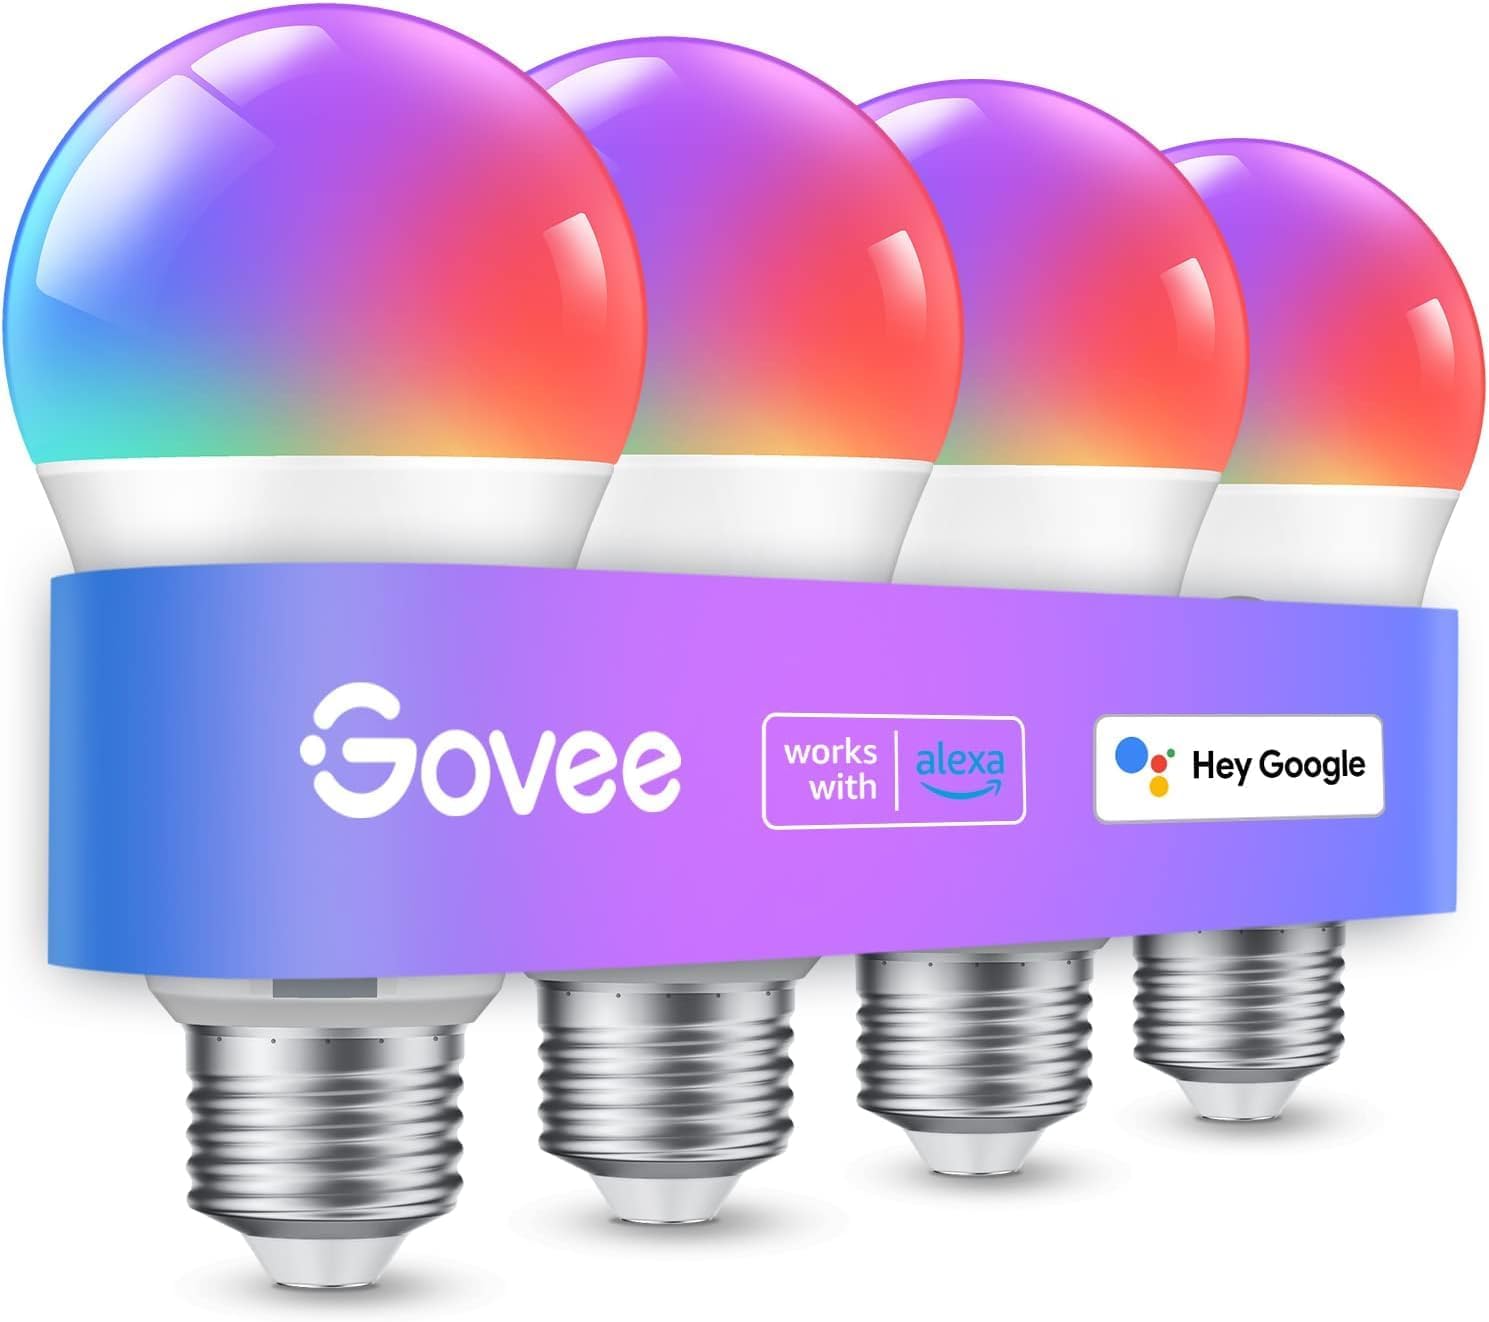
For plugs and meters that show real-time usage, see our picks in Best Smart Plugs With Energy Monitoring.
Step 3 — Link Third‑Party Services and Brand Accounts
Overwhelmed by brand names? We’ll link services fast — and avoid OAuth pitfalls so our Hub actually controls them.Set up the device first in its manufacturer app (for example, Philips Hue, Ring, SmartThings) and confirm it’s online and controllable there before linking.
Open the Google Home app, tap + → Set up device → Works with Google, find the vendor, and sign in with the same credentials you used for the manufacturer app.
Grant the required permissions (account access, location, local network) when prompted, then verify each device appears in the correct room and responds to a test command like, “Hey Google, turn on Living Room Light.”
Troubleshoot linking failures by following these quick checks:
Document which services require periodic re‑auth (for example, Ring or Hue) and set reminders so our routines keep working.
If you’re still choosing between ecosystems and bundles, our How We Compare 5 Alexa and Google Assistant Deals breaks down the pros and cons.

Step 4 — Test, Automate, and Troubleshoot Like a Pro
Test once, automate forever — and when things break, we’ll use a checklist that fixes 9/10 problems fast.Test each device with voice and app controls: say “Hey Google, turn on Kitchen light” or “Hey Google, lock Front Door,” then tap the device tile in the Home app to confirm the state.
Group devices into rooms: open the device’s settings → Room → assign to Living Room, Bedroom, etc., so group commands like “turn off Living Room lights” work reliably.
Create routines: open Routines → +, add a starter phrase (for example, Good night), then add actions (turn off lights, lock doors, set thermostat). Example: one command that turns off lights and locks doors before bed.
Troubleshoot quickly with this checklist:
Set push notifications for critical devices (doorbell, smoke detector) and keep this short troubleshooting checklist handy. We’ll validate each device with simple voice commands and the app controls, then group devices into rooms and create routines (e.g., “Good night” turns off lights and locks doors). For troubleshooting: reboot the Hub and device, confirm both are on the same network, relink accounts if needed, and update firmware. If a device won’t reconnect, try factory reset as a last resort. We’ll also set up notifications for critical devices (doorbell, smoke) and keep a short troubleshooting checklist handy.
Ready — Enjoy a Smarter Home
We’ve prepared the network, added devices, linked services, and set automations; now we can control our home with voice, schedules, and scenes, troubleshoot quickly, and refine setups. Let’s try it, enjoy the convenience, and share our results and tips today.
For more Nest, Alexa, and speaker ideas, explore our Smart Hubs & Voice Assistants guides.
Related Smart Home Hub Guides
Want more ways to get the most from your Nest Hub and voice assistants?

Just wanted to say the troubleshooting checklist in Step 4 is gold. Kept it open on my phone while setting up and it saved me from calling support twice. Simple, practical, no fluff.
Appreciate that, Nora — glad the checklist helped. We’ll consider adding a printable quick-check PDF.
Loved the automation ideas in Step 4. I set a ‘Goodnight’ routine that turns off living room lights, locks the smart lock, and sets the thermostat. Two things I tweaked: added a 30s delay for lights (so the kid can finish brushing) and I named the routine something short so Hub triggers it reliably.
Oh neat — can you share how you set the delay? I didn’t see that option in Routines.
Nice routine, Priya — the delay trick is clever. We’ll add a couple of example routines in the guide to inspire readers.
Nice guide. One tiny add: when testing in Step 4, try voice commands with slightly different phrasing — ‘turn off’ vs ‘power off’ vs ‘lights off’ — because Google sometimes prefers one over the other depending on device names. Saved me from endless trial and error.
Quick question about networks: my router defaults to a combined SSID for 2.4 & 5 GHz. Should I split them so my Nest Hub and bulbs are on 2.4? Guide mentions network prep but not split-vs-combined.
Also, does the Nest Hub prefer the 2.4 band for stability? I’m trying to avoid weird dropouts at night.
Good question. Many smart home devices (especially older Zigbee/Z-Wave over Wi‑Fi bridges and cheaper Wi‑Fi bulbs) work more reliably on 2.4GHz. If your devices support 5GHz, it’s fine to keep combined, but if you see instability, splitting SSIDs and forcing bulbs/bridges to 2.4GHz often helps.
Also check for channel congestion (use a Wi‑Fi analyzer app). Sometimes switching the 2.4GHz channel fixes dropouts without splitting SSIDs.
Thanks — I’ll try changing the channel first. Splitting seems like a pain but might be the solution if necessary.
I run a combined SSID and haven’t had issues, but for dense setups with lots of devices I split them — gives a bit more control.
LOL okay so I spent an hour yelling ‘Hey Google, turn off the lights’ only to realize my Nest Hub was still connected to my old Google account. Classic user error.
But for real: linking brand accounts was messy because of 2FA. If your brand account forces SMS codes, make sure the phone used for 2FA is with you when you link in Step 3.
Also, PSA: don’t name multiple devices ‘Bedroom Light’ unless you enjoy confusion and accidental wide‑awake roommates at 3 AM. 😂
One more thing: after linking, give Google Home a minute to sync before you start building routines. It feels instantaneous but sometimes the cloud needs a sec.
Anyone else hit the 2FA surprise during setup?
Good reminder about pop-up blockers, Liam. We’ll include troubleshooting tips for desktop linking as well.
Also keep an eye on browser pop-ups during linking — sometimes the OAuth window gets blocked by popup blockers if you’re doing it on desktop.
Great war stories, Derek. Yes — 2FA can trip people up, especially if the brand uses app-based authenticators. We’ll add a short 2FA note to Step 3 advising readers to have their verification method ready.
Thanks everyone — gonna update my cheat-sheet with these tips. The roommate thing is still on them though 😆
Had that happen with my security cam — had to use the auth app. Would’ve been nice to know beforehand.
Ugh, had trouble with Philips Hue not showing up after Step 2.
I followed the guide, connected the Hue Bridge to the same network, but Google Home just won’t find the lights.
Tried rebooting everything, factory reset the bridge once (pain), and still nada.
Anyone else see this? Is there a special order for linking third‑party services in Step 3?
I feel like I’m missing one tiny setting somewhere.
I had the same issue — for me the bridge was on a guest network and the Hub was on main. Moved the bridge to the main SSID and Google Home found it instantly.
Sorry you’re stuck, James. A couple things to try: ensure the Hue Bridge is on the same 2.4GHz/5GHz band as the Nest Hub (some routers isolate bands), and confirm the Hue account is fully activated in the Hue app before linking to Google Home. Also, make sure the Hue Bridge’s firmware is up to date.
If your router has AP isolation or client isolation enabled, devices won’t see each other. Check that setting too.
Thanks everyone — fixed it by moving the bridge off the guest network. That was the culprit. Back to automation glory!
If none of that works, try unlinking the Hue service from Google Home and relinking it (Step 3). Sometimes the token exchange fails and relinking resolves it.
This guide was exactly what I needed — thanks!
I had been overcomplicating the Wi‑Fi setup forever. Quick tip: reboot the router and Nest Hub before adding devices, saved me a headache.
Also, the bit about giving unique room names in the Home app = game changer.
One small nit: maybe mention checking for firmware updates on the devices before linking?
Otherwise smooth as butter. 🙂
Great point, Ethan — we’ll add a note about firmware updates in Step 1. Many devices need an update before they appear in the app.
Totally agree about room names. Spent 30 min yelling at my Hub until I realized two devices were both called ‘Lamp’ 😂
Haha, we’ve all been there. Glad the guide helped — if you want, share which devices you connected and I’ll suggest room naming tips.
Short and sweet — loved the clear steps for linking brand accounts. I linked my camera and thermostat in under 10 minutes. Only thing: the app kept asking me to re-enter my password for the brand account twice, but it finally stuck. 😅
Solid walkthrough. I would add a brief section about naming conventions: use short names, avoid special chars, and don’t start with ‘The’ (e.g., ‘Kitchen Light’ not ‘The Kitchen Light’) so voice recognition is cleaner. Also, keep device names unique per room — took me a while to rename everything manually 😂
Yesss naming conventions saved me when I had ‘Lamp1’ and ‘Lamp2’ — now I do ‘Sofa Lamp’ and ‘Bed Lamp’ and it’s much nicer.
Thanks, Carlos — really practical suggestion. We’ll add a small naming convention subsection with examples.